
How To: Configure Company Overview and Brand Settings
Edited
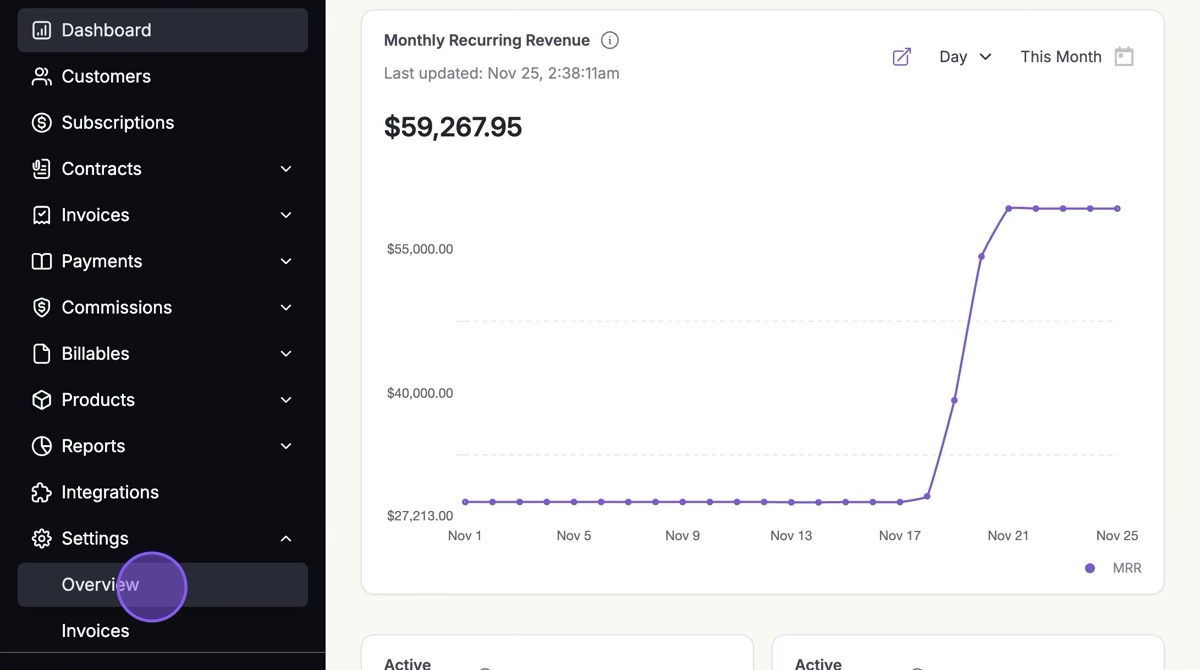
1. Find "Settings" in the Navigation Bar and Click "Overview"
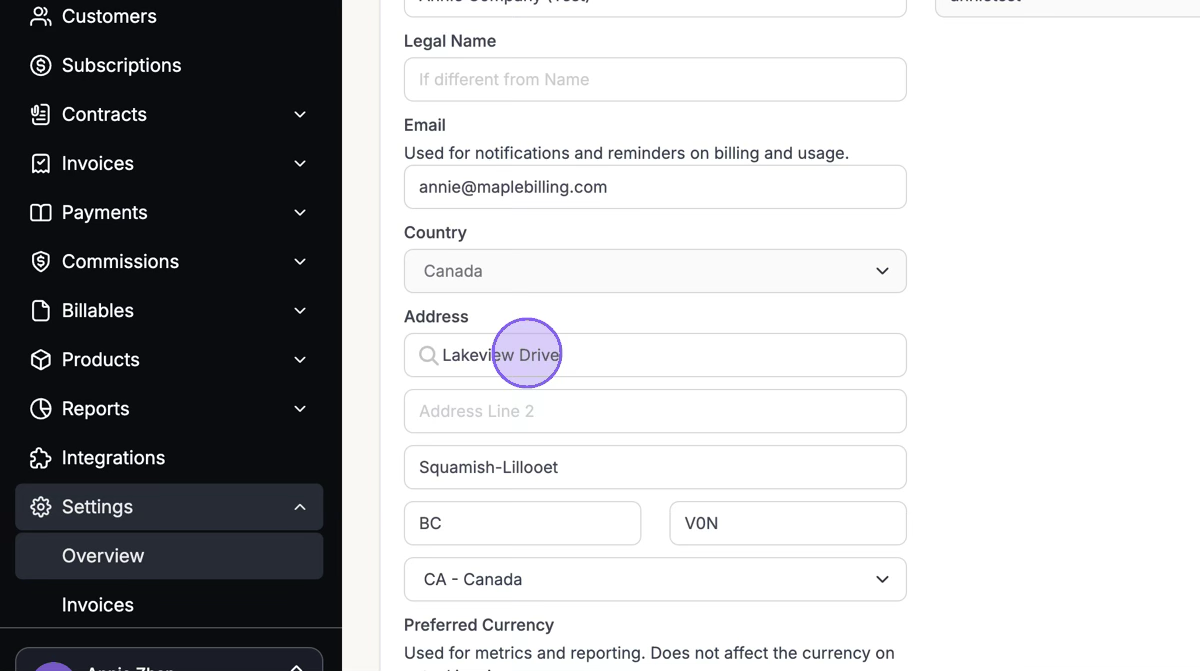
2. Add in your Company Address in the Company Details Tab
Be sure to hit Update at the bottom of the screen to save your changes.
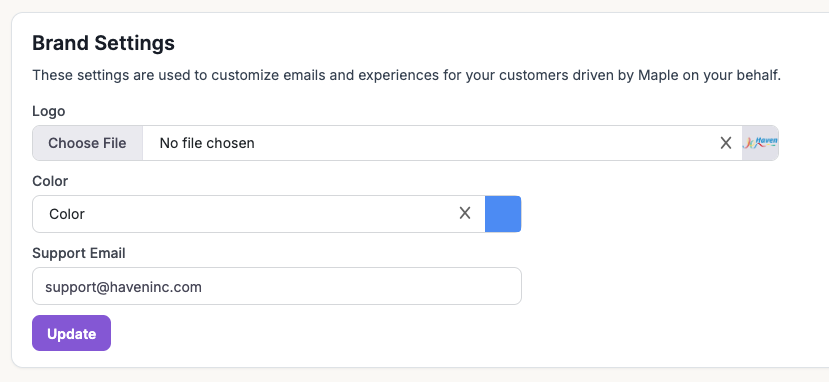
3. Click the "Brand Settings" Tab
Add in your company's logo and brand color - these will be displayed on your invoices, as well as checkout pages. Add in a support email as well, if available. Be sure to hit Update to save your changes.
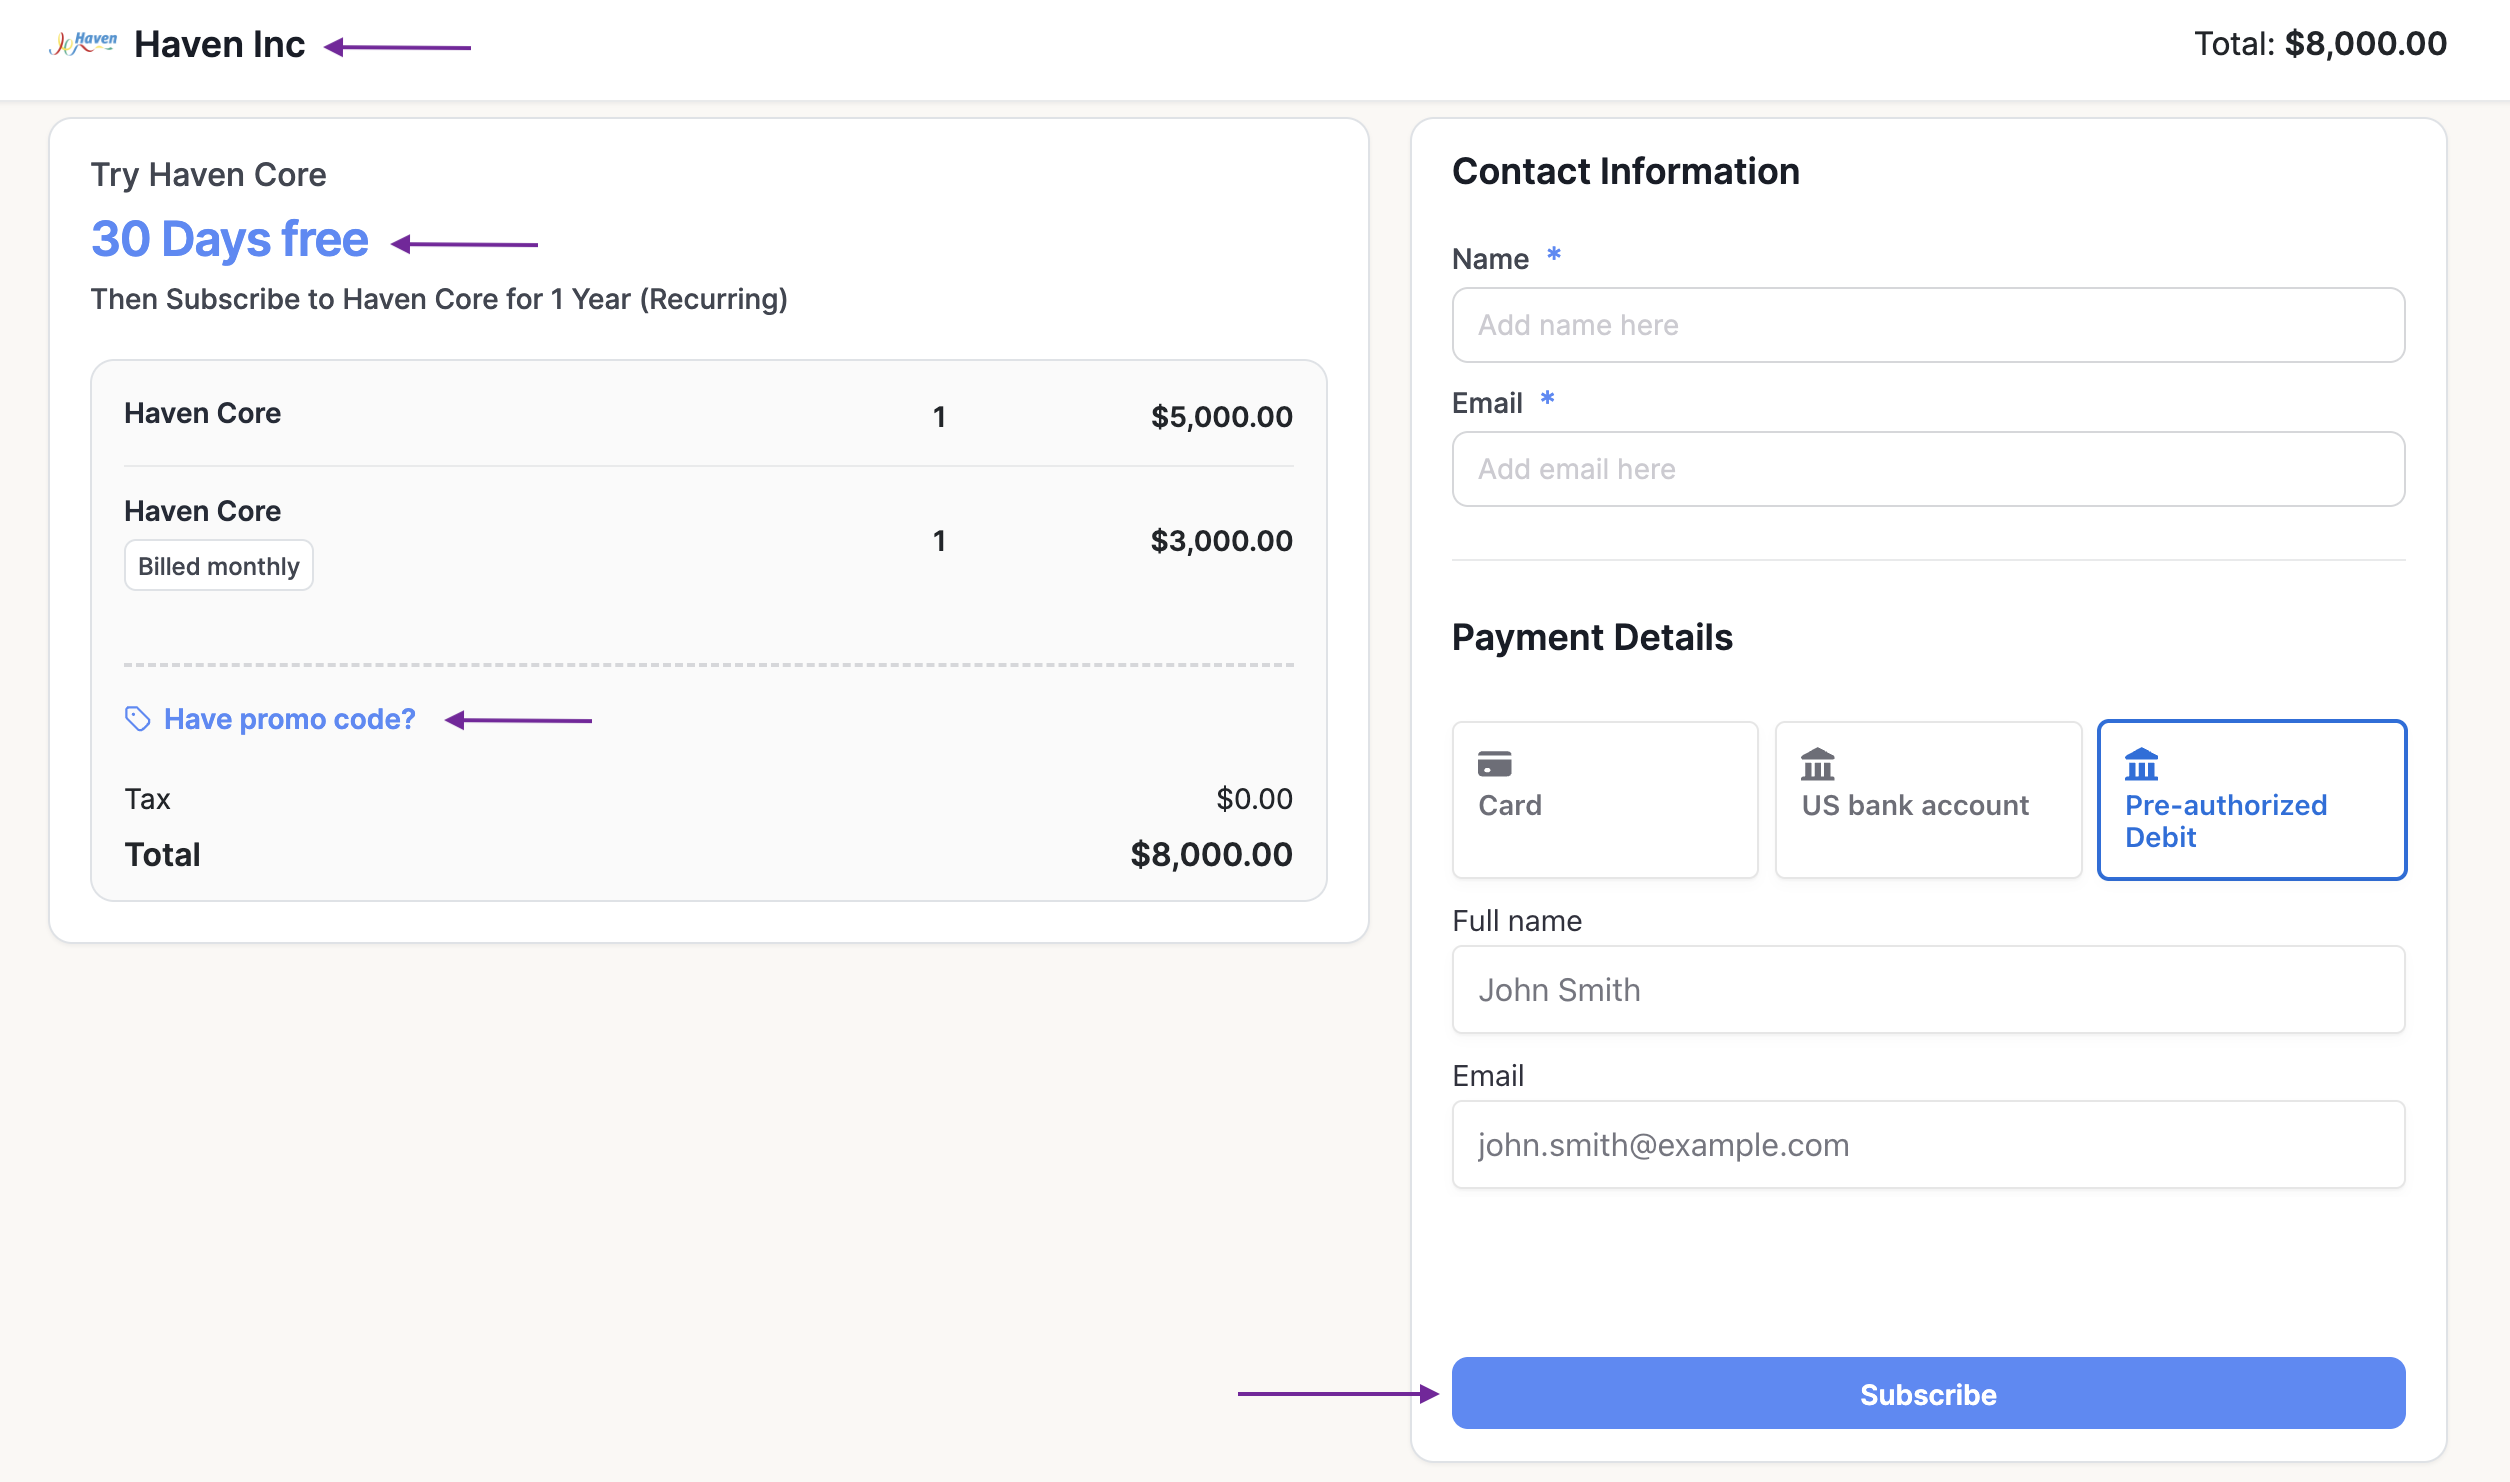
Your brand settings will appear in the checkout pages, payment links, and customer checkout sessions.
Was this article helpful?
Sorry about that! Care to tell us more?