How To: Create a Sales Contract
Learn how to create a Sales Contract ready for signature, automate billing, and include all necessary product information.
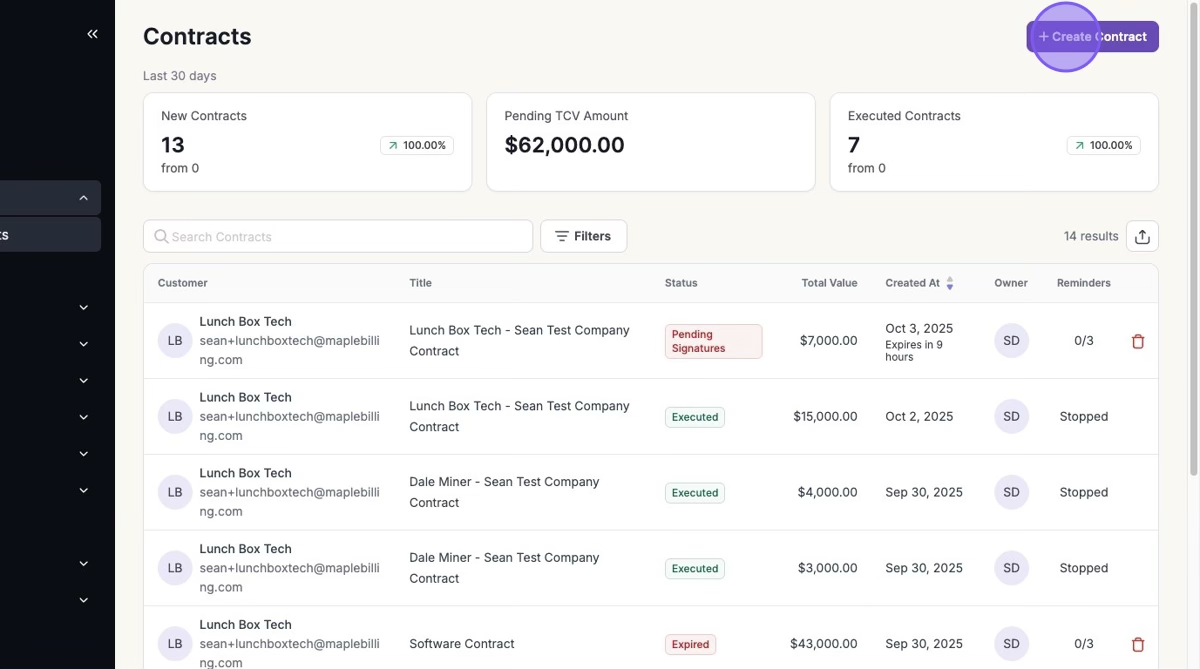
1. Click Contracts > Sales Contracts > "+ Create Contract"
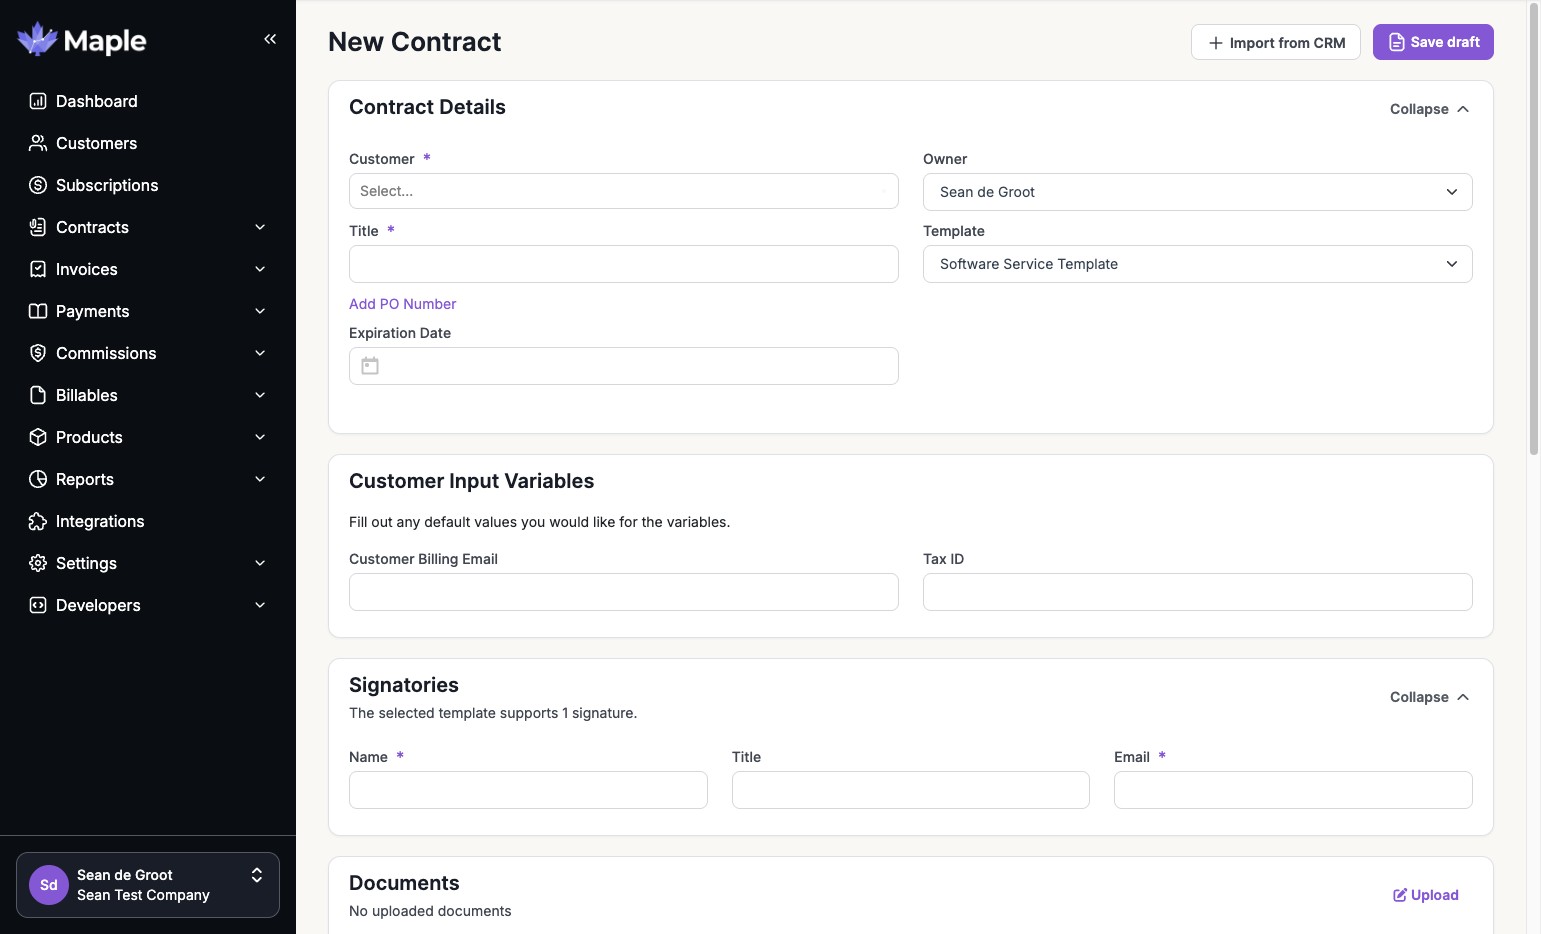
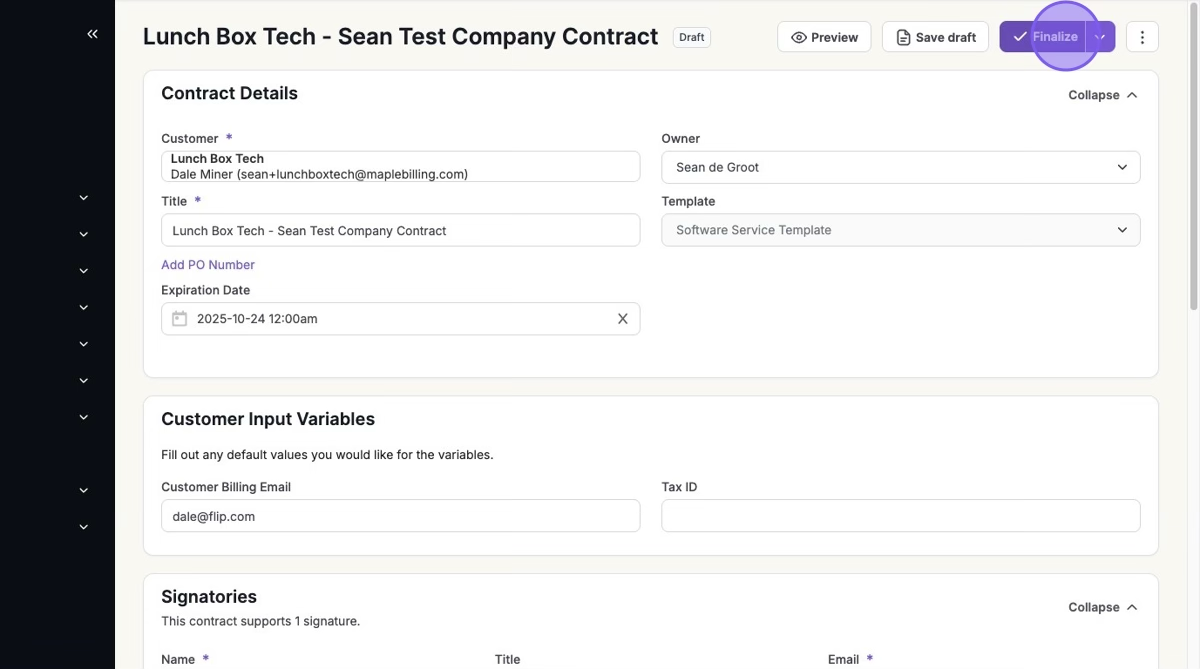
2. Insert Your Contract Details
Customer (This will populate the signatory in the contract)
Title (This will populate as Customer Company Name - Your Company Name)
Owner (Optional)
Contract Template
PO Number (Optional)
Expiration Date (Optional)
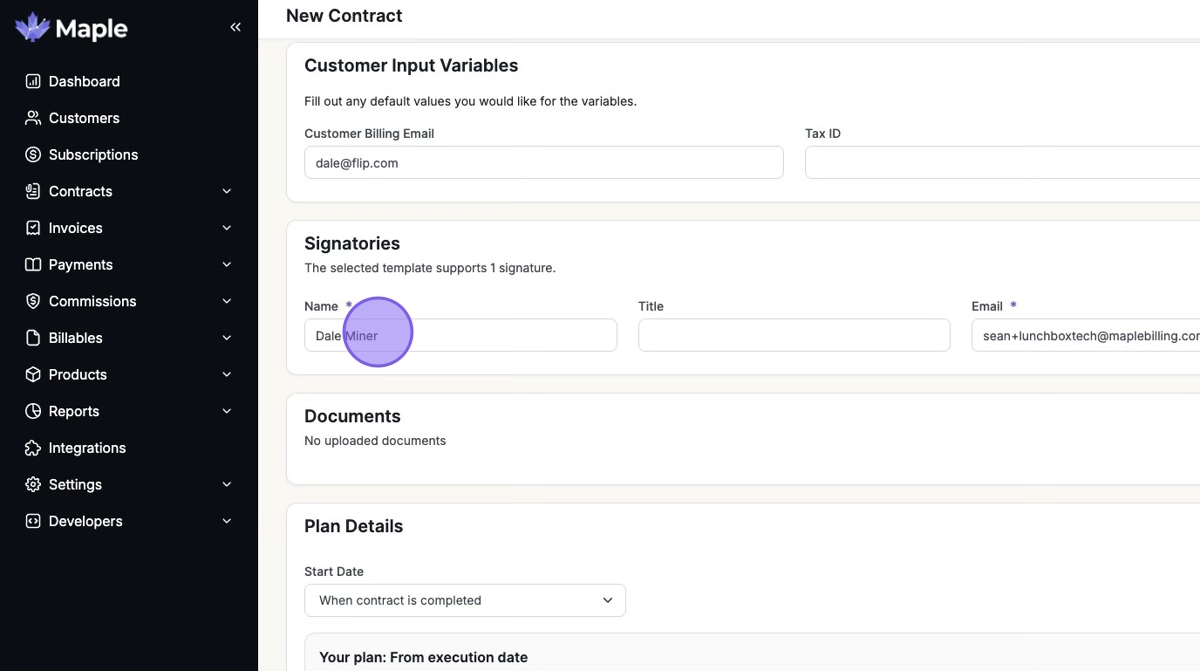
3. Signatories
These will populate from the customer name and can be changed depending on who should sign the contract. In our example, we have a single signatory.
Name
Title (Optional)
Email
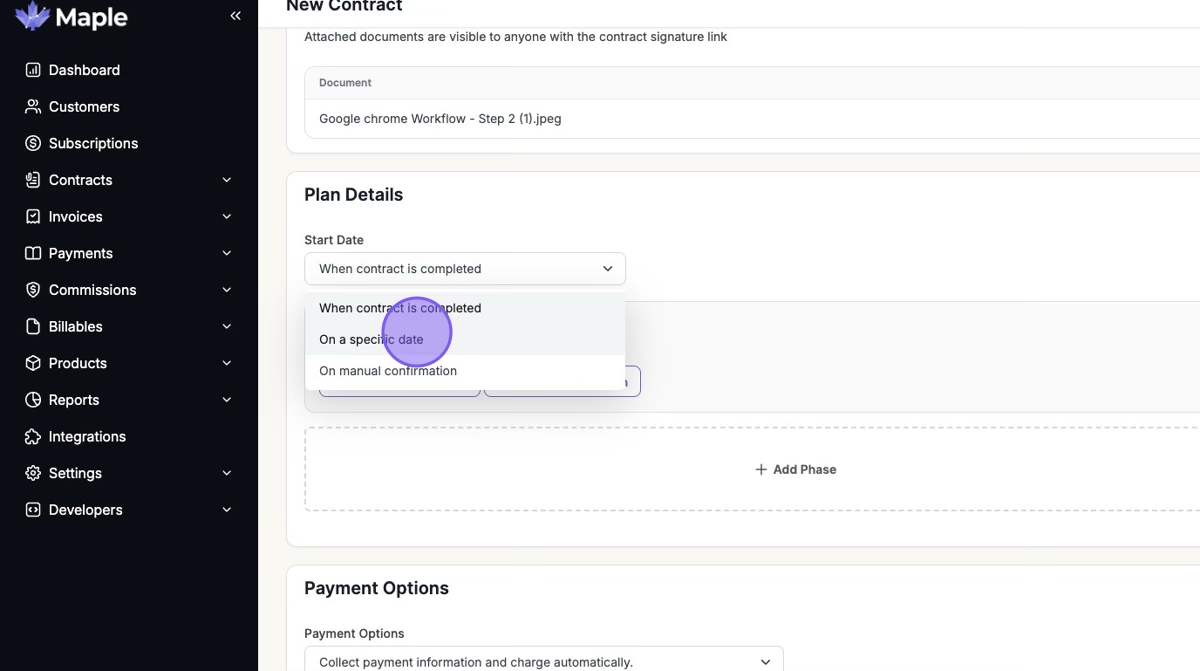
4. Contract Start Date
Under Plan Details, set your start date with three different options:
When the contract is completed
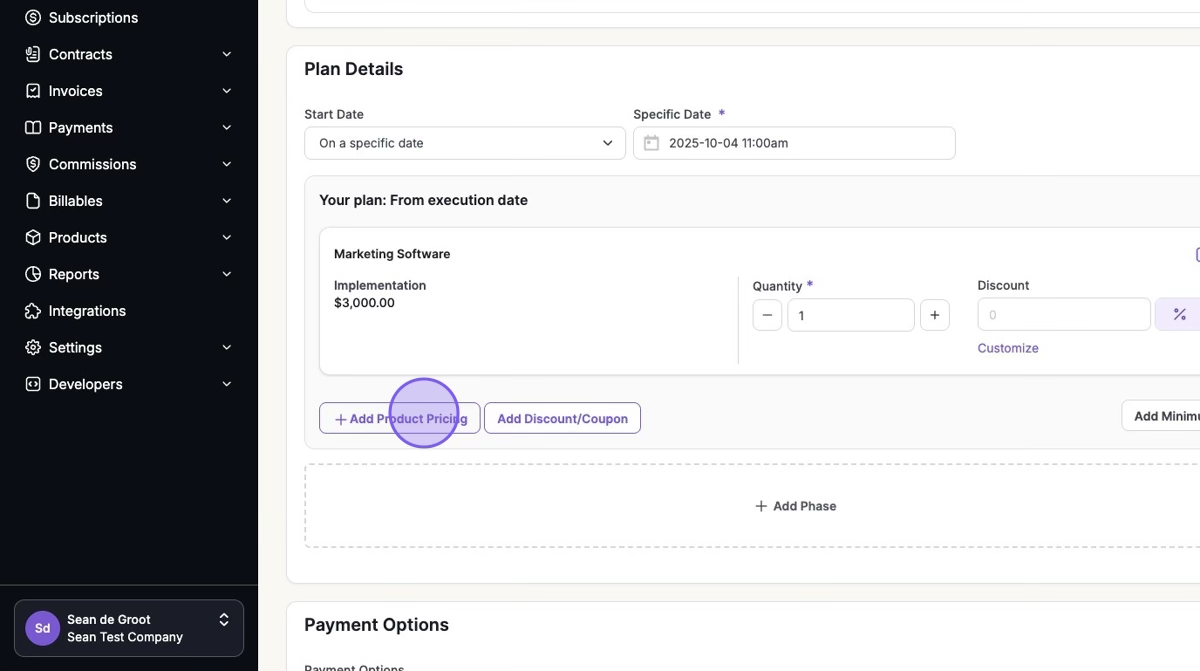
On a specific date
On manual confirmation
5. Click "Add Product Pricing" and Select your Product's Pricing
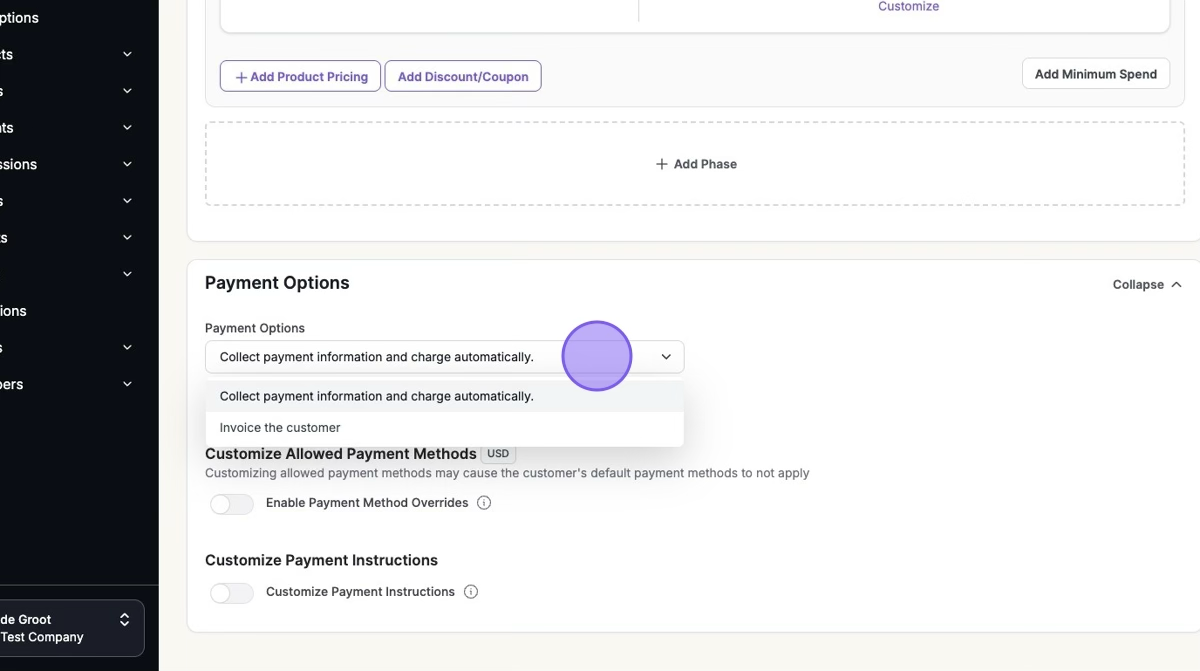
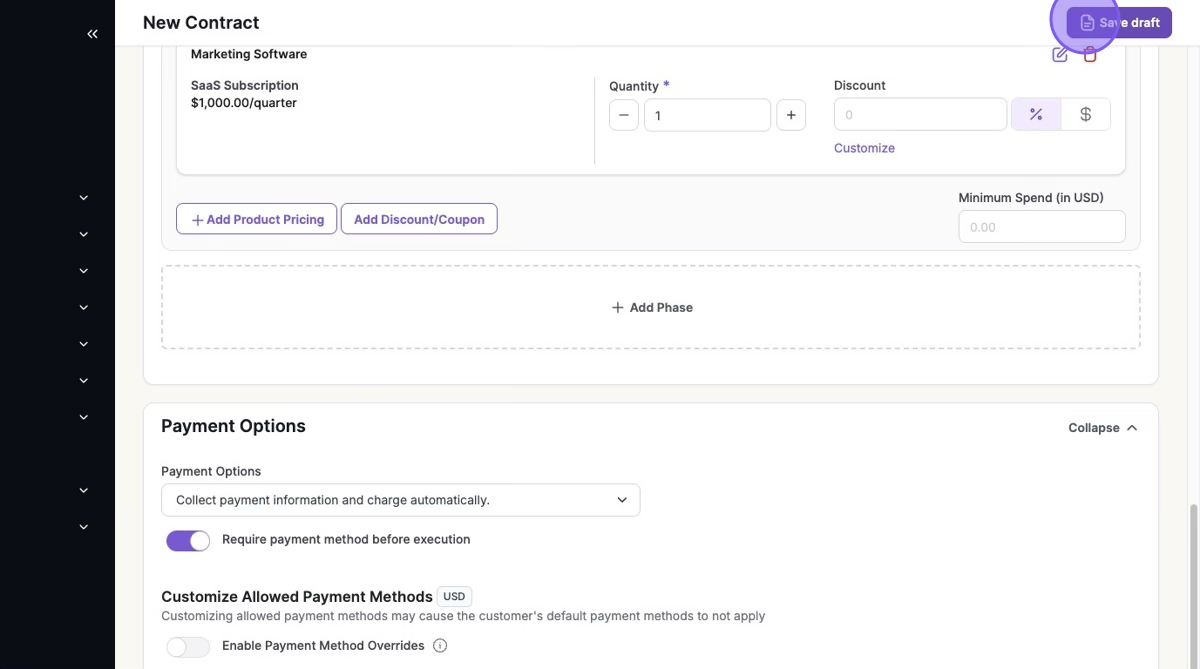
6. Payment Options
You can select your payment method for your customer from two options:
Collect payment information and charge automatically
Invoice the customer
7. Save Draft
Once you have the contract in a good spot, click "Save Draft." This will keep it as a draft and not send it. You can click "Revert and Edit" if you need to make more changes.
8. Click "Finalize"
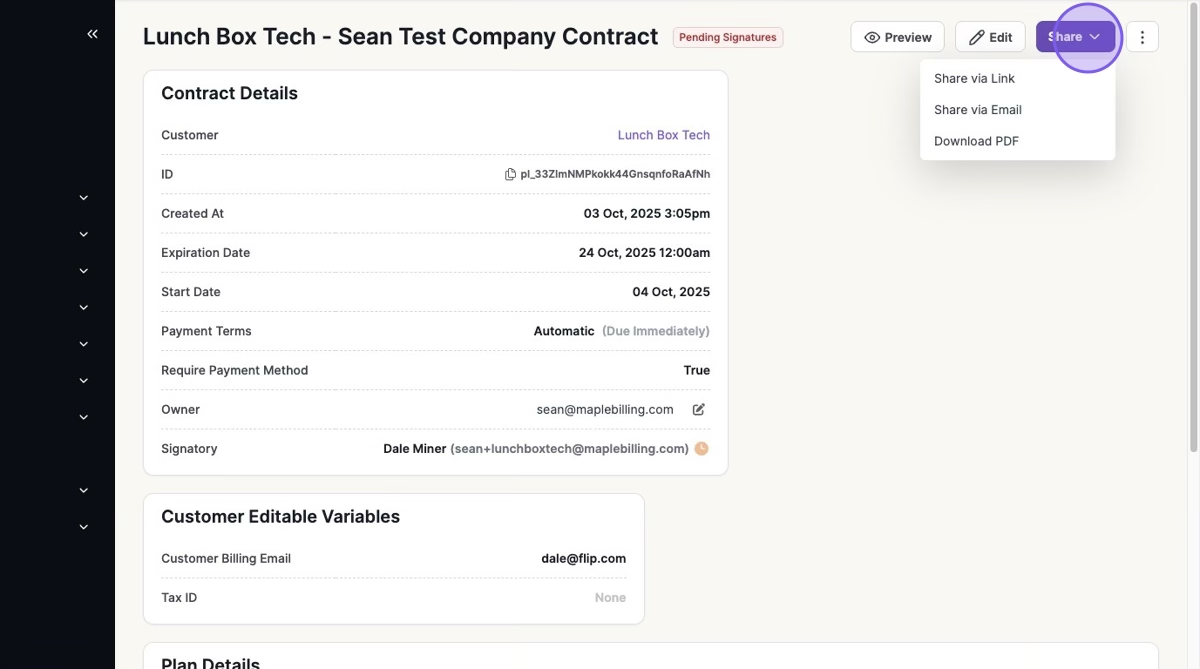
9. Click "Share"
It will prompt you to send your contract one of three ways:
Via link
Via email
Download PDF for folder upload or printing