
How To: Connect the Postmark Integration
Maple offers a Postmark integration allows you to send emails from Maple using your own domain, giving you better control over the deliverability of notifications to your customers.
By routing emails through your Postmark account, you can leverage your domain’s reputation and Postmark’s robust delivery infrastructure.
1. Log in to Postmark and Verify your Domain
Log into your Postmark account, and verify your domain or sender signature if you have not already. See Postmark's article, How do I verify a domain, for more details.
⚠️ This needs to be completed for us to be able to use your “From” address.
2. Create a Server Token in Postmark
Reference the API Tokens page in Postmark.
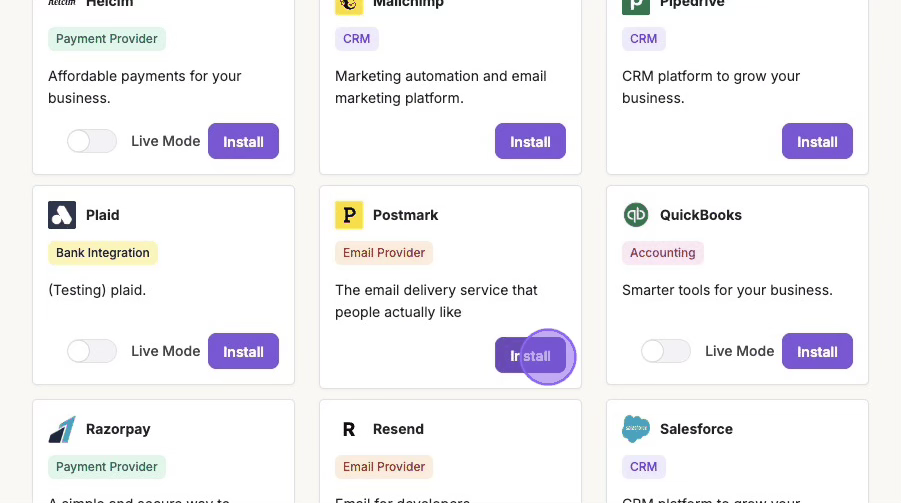
3. Install the Postmark Integration in Maple
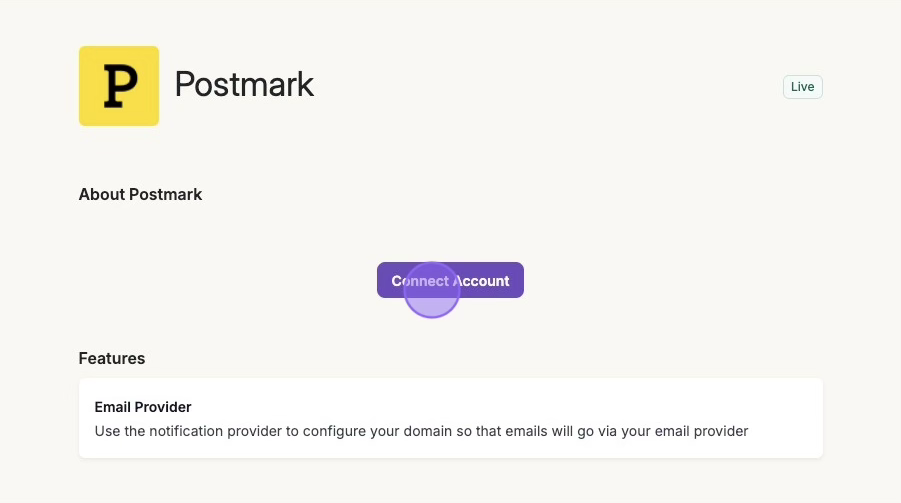
Find the Integrations tab in Maple, and click Install on the Postmark integration. Click Connect Account.
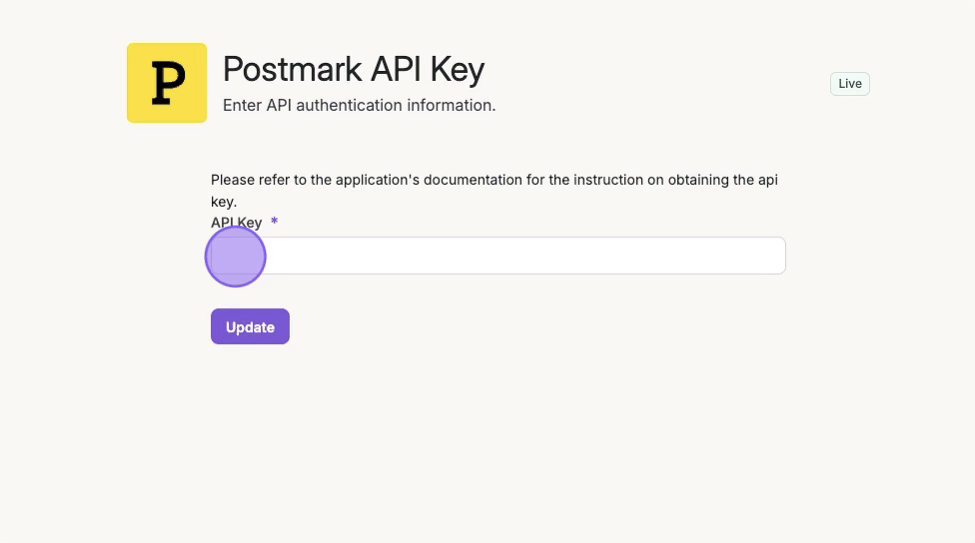
4. Paste the API Key in Maple
Paste the API copied from Step 2, then click Update.
5. Copy Webhook URL from Maple

6. Create a Webhook in Postmark
Go to Servers in Postmark.
Select the appropriate Server. Then select the appropriate Message Stream.
Click on Webhooks tab.
Click on Add Webhook.
Paste the webhook url from Step 5.
Ensure the following events are sent:
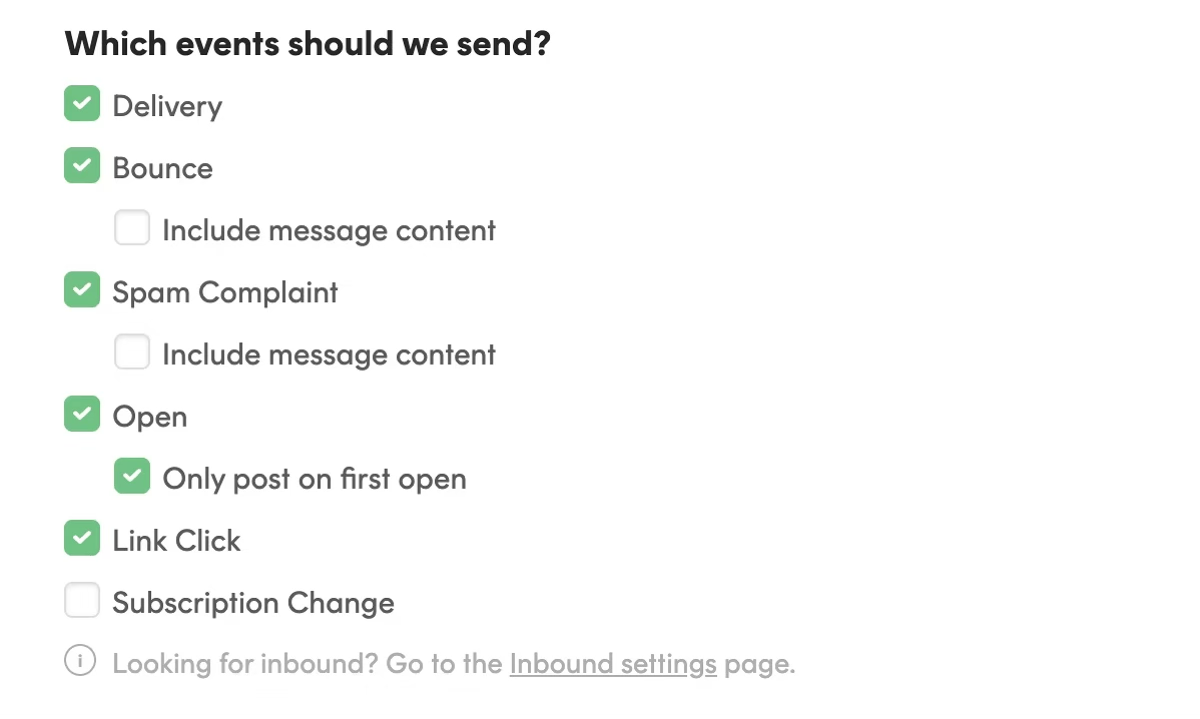
Click Save Webhook.
7. Provide "From" Address
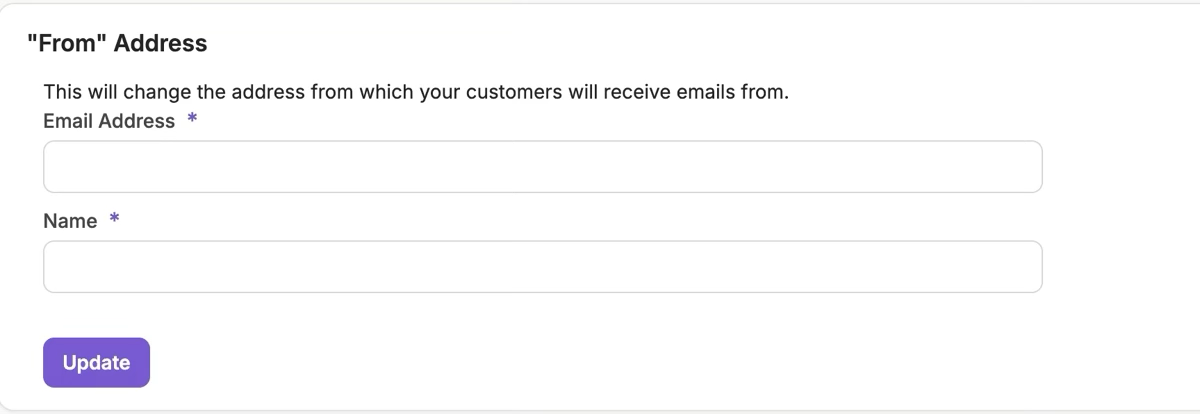
⚠️ Ensure the “From Address” is part of the domain verified, or is exact “Sender Signature” is added in Step 1.
Your Postmark integration with Maple is now fully configured. Maple can send emails using your verified domain, track email opens and clicks, and handle bounces or spam reports. You’re ready to start sending transactional and notification emails to your customers.